On the Tiger I'd reused the Lucas alternator and only had sensible space on the exhaust side. With the Fury there's more space on the inlet side and mounting the alternator there reduces the complexity in terms of extra pulleys etc. Also better from a heat point of view.
First job with the alternator was to remove the V belt pulley and replace it with a 6 rib (6PK) pulley to match the other pulleys on the engine.
Behind the V pulley is a spacer, seen middle top in the picture below. In comparison the 6PK pulley has a 'shoulder' but this isn't the same depth as the space, see later picture which shows the thickness of the 6PK pulley. A small spacer is therefore needed and one was made by carefully drilling out a suitable thickness and diameter washer. Also the shaft of the alternator is 15mm OD however the 6PK pulley is 17mm ID. Middle bottom shows the 'sleeve' to make up the 2mm difference:

The picture below shows a comparison between the V pulley plus spacer and the 6PK pulley, sleeve and washer.

The 6PK pulley is 60mm OD which is slightly larger than the V pulley so should be fine from an RPM point of view:

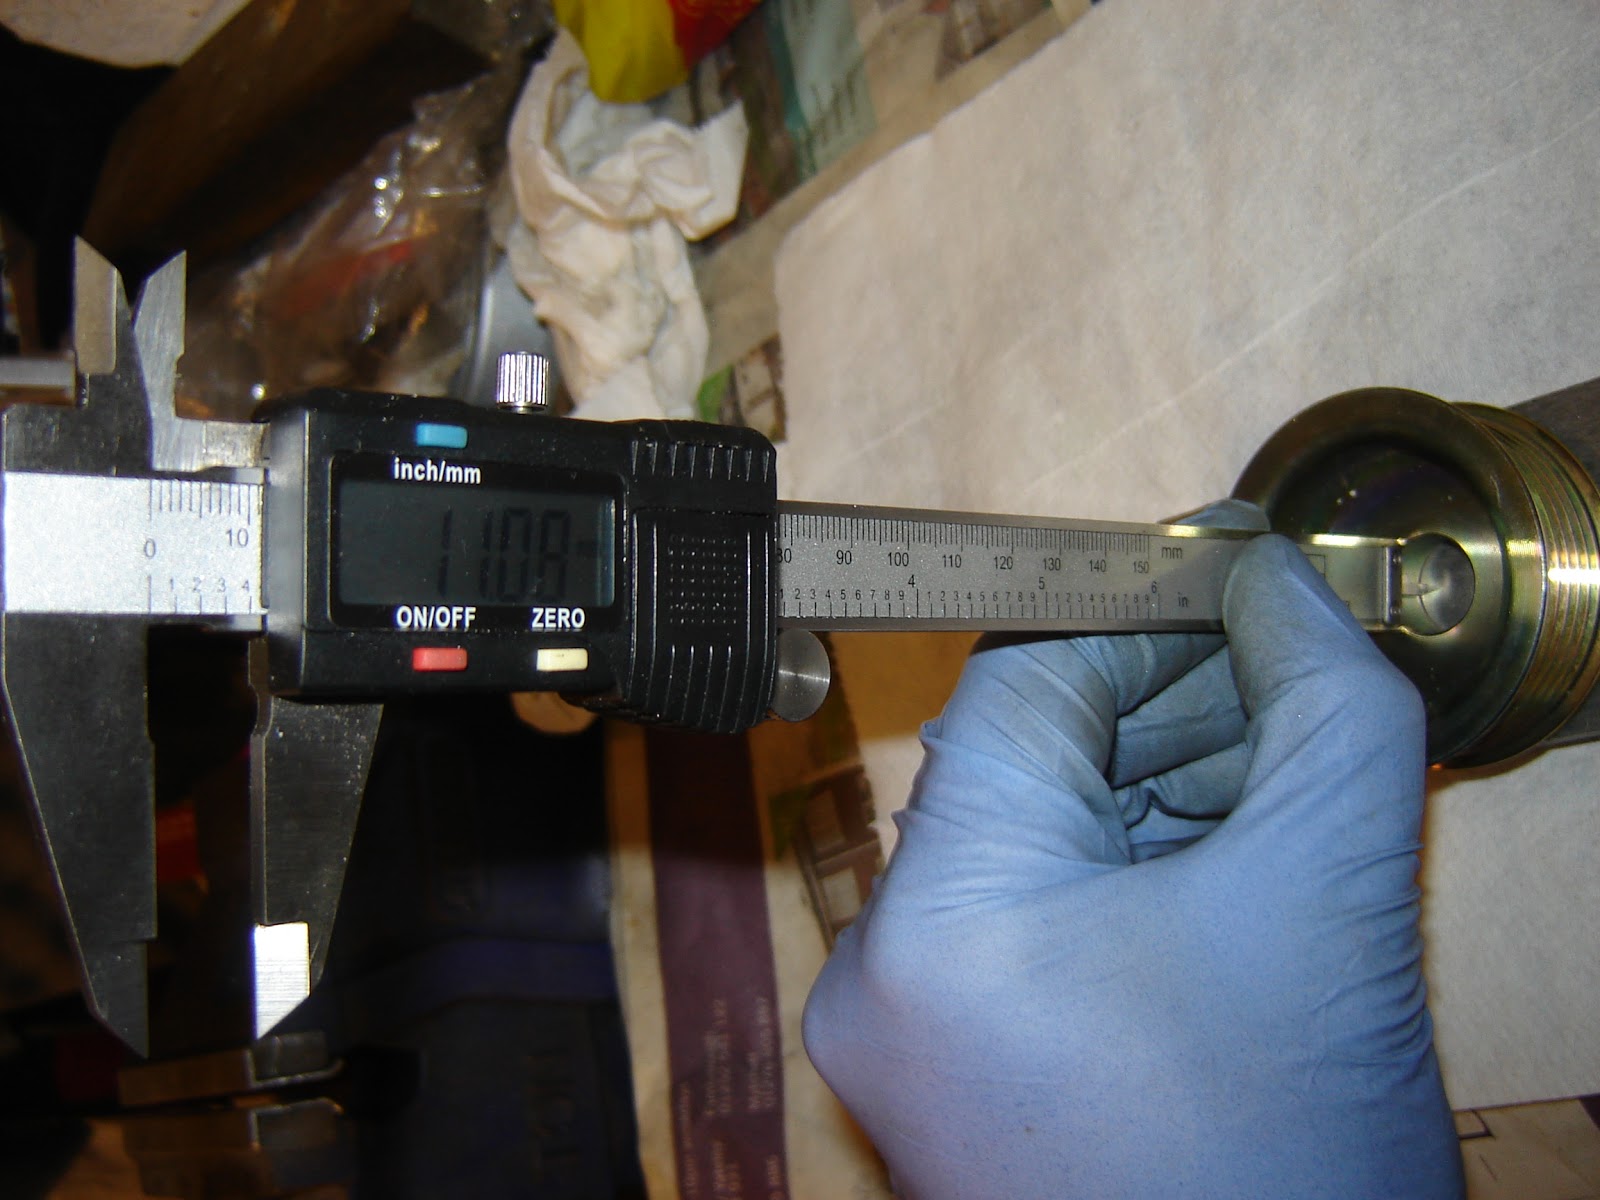
Depth of the pulley to shoulder is 11mm:
Next job was to identify where to mount the alternator on the inlet side. I've seen a few people who have used the bottom two air-conditioning pump mounts and the threaded hole beside the water pump so thought I'd go with these.
Objective is to have the alternator solidly mounted and make the top pulley manually adjustable to take up the belt tension (there's insufficient space to use a Ford Focus type automatic adjuster on the inlet side of the cylinder head).
For the top alternator mount decided to use a piece of angle iron (mild steel) drilled carefully so that it locks tight to the block by the water pump. In turn this was drilled and a spacer added to bolt into the threaded top mount on the alternator body:

For the bottom mount used a couple of pieces of scrap, drilled and shaped. Then mocked up the position and got the alternator square vertically and horizontally based on the crankshaft pulley. Then out came the MIG welder, tacked, removed and finish welded on the bench.
Final job will be to paint both parts when I get a number of other parts together to all be painted at the same time:

Pleased with the result. Just need to sort out the top adjuster pulley and source a suitable length 6PK belt. Also now need to source an oval alternator plug but I've ordered an MG engine loom which should have the required plug along with some others I'm after.
Must get back to that panelling... (eventually since I'm expecting some parts to arrive from Steve @ Fury)
No comments:
Post a Comment